
This is an excerpt from the Book called “Interior Walls, Framing, Dry walling, Trimming ” by Des Moines, Lowa. Continue reading to learn more about Finishing Dry Wall, thanks to the author.
Finishing drywall involves spreading joint compound over the screw or nail holes and joints in the wall to create a smooth or nail holes and joints in the wall to create a smooth, flawless surface. Tape is embedded in the compound over the joints to prevent cracks. The tools and techniques are simple, but creating a smooth surface requires lots of practice. A good pro can finish a wall with three coats, but beginners sometimes need to apply more. You’ll need three drywall knives a 6-inch-wide knife fold the first coat a 10-inch for the second coat, and a 12-inch for the final coat or coats. The three knives allow you to feather out the joint-make it gradually thinner toward the edges of it blends in with the wall surface when painted.
The joint compound used to finish drywall joints is commonly called mud. Use ready-mixed joint compound that comes in 5-gallon buckets. Lesser quantities are available for small jobs. Keep the bucket covered at all times to keep the mud from drying out. Stir in any water that pools on the surface.
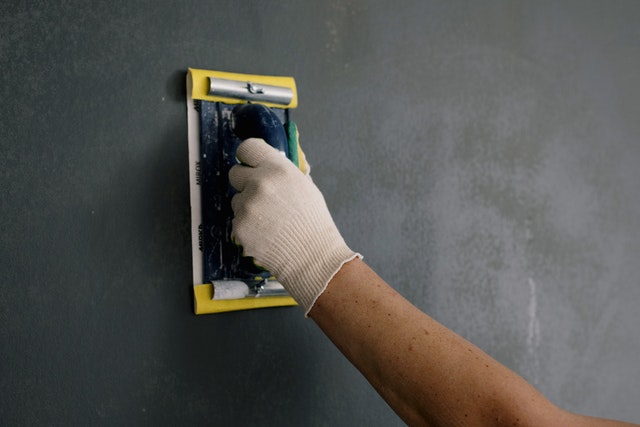
After you apply the final step is opt smooth the surface. You have two choices: sponging or sanding.
Each method has its advantage. Sponging avoids creating dust, but sanding does a better job of making the joint flat.
To sponge, you’ll need a bucket of water and a big sponge. Even better is a sponge made especially for smoothing drywall; it has a coarse mesh on ;one side that removes excess mud, and a plain sponge on the opposite side for refining the surface. Wet the sponge and scrub the wall surface. Rinse the sponge frequently to get rid of the mud that builds up on its surface.
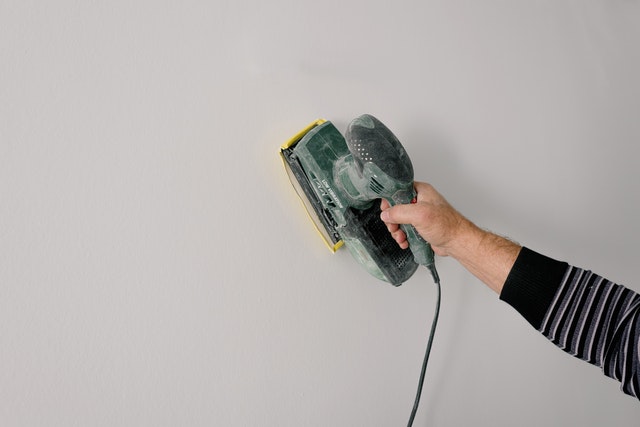
For an especially smooth, flat joint, you can’t beat hand sanding. This method creates lots of dust, but the results are worth it. Be sure to seal off your work area with plastic sheeting and wear a quality mask to; avoid breathing the dust. You might be tempted to use a power sander, but don’t. Power sanders fray the drywall’s paper and throw large amounts of dust into the air.
For small jobs, a sanding bloc with regular sandpaper works well. For larger jobs, invest in a sanding screen (a screen mesh impregnated with abrasive) and a holder. Some holders attach to a shop vacuum hose, a setup that helps contain dust during sanding.
The universal pole sander extends your reach and allows you to work efficiently be making long strokes. Its name comes from the universal joint that attaches the pole to a sanding pad. This joint ensures that the pad is always flat on the wall. The pad is sized for a half-sheet of sandpaper or a standard sanding screen and has clamps to hold the Paper screen in place.
The long edges of drywall sheets are tapered edges together form a depression, which makes it possible to create a flat mud joint. The short edges of drywall shots are not tapered; they meet at a butt joint.
Butt joints are more challenging to finish because they require that you build a slight, gradual mound to hide the joint. To make the mound subtle enough to go unnoticed, you must feather the joint compound over a wide area.
The same self-adhesive mesh tape and similar techniques for applying mud are used for butt joints and tapered edges.
A work light held at a raking angle helps reveal ridges, bumps, and depressions as you scrap and sand between coats. But your best-and last-chance to fix finish flaws is after you have applied a primer “show coat” to the walls. At this point the walls are a uniform color, and you’ll see irregularities you might not have noticed before priming. The most common beginner’s mistake is joints that are too thick. If you find joints like this, add another coat of mud and feather it out farther. Sand these joints again, apply primer to any bare mud, and you are ready to apply to apply paint.
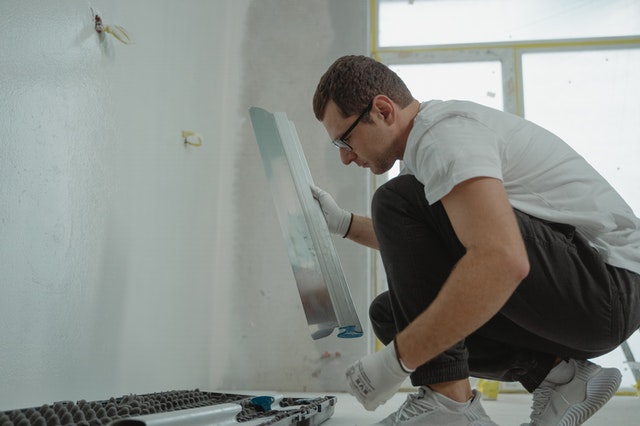
If your project includes several butt joints, consider investing in a drywall trowel. It looks like an ordinary mason’s trowel, but the blade has an extremely subtle bow that is ideal for forming the slight mound needed for butt joints. Use the trowel for the second coat only, running it once over the center of the joint.
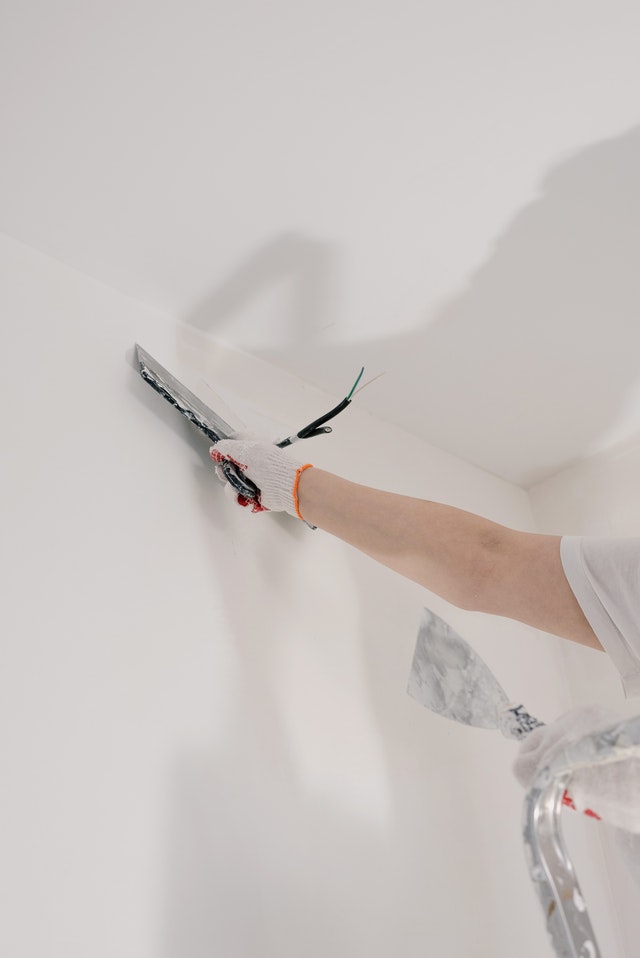
Covering corner bead at outside corners is easy because the bead itself guides the drywall knife. Run one side of your knife along the bead to produce a smooth, flat joint as the mud covers the nailing flange. As with other joints, apply at least three coats, sanding in between to feather the joint where it meets the drywall. The bead itself isn’t hidden in mud. Simply scrape excess mud off the bead, and then paint it along with the drywall.
Inside corners are more difficult. They require taping and mudding. The hard part is smoothing the mud on one side of the corner without messing up the mud on the other side.
Resist the temptation to try to get these inside joints perfect on the first, or even second, coat. Accept that there will be ridges you’ll need to sand or knock off in the first two coats. To avoid ridges on the third coat, think of it as a “fill” coat; press hard on the knife so you fill imperfections instead of leaving behind a thick layer of joint compound. Remember there’s no law against hitting the joints a fourth time if necessary for a smooth finish.
For outside corners, mud the flanges of the corner bead. Apply several coats, sanding the final coat for a smooth surface.
If there are bubbles under the tape, the tape doesn’t stick to the mud, or it wrinkles, peel it off and apply more mud underneath. This is one time when applying a little too much mud is not a problem.
One way to achieve straight, smooth inside corners is to use a corner knife. First embed and cover the tape in mud using a 6-inch knife, but don’t try to smooth the joint. Next hold the corner knife at the top of the joint, angling it slightly away from the wall, and pull it down to near the floor. Try to do this in one even stroke. The corner knife leaves ridges on both sides of the joint. When dry, scrape off the ridges before you apply a second coat.