Removing Drywall
This is an excerpt from the Book called “Interior Walls, Framing, Dry walling, Trimming ” by Des Moines, Lowa . Continue reading to learn more about Removing Drywall, thanks to the author.
After the moldings are out of the way, the next step is to remove the drywall or plaster from the wall. Before you start smashing the wall with a hammer, you need to know if there are any pipes, ducts, or wiring inside.
This is a messy job, so work carefully to avoid creating undue debris and dust. Remove drywall in large pieces. Start near the top of the wall and work down, prying the drywall free of its fasteners as you go. Drywall is inexpensive, so don’t try to save it for reuse. The wall studs are worth saving unless the drywall was attached with construction adhesive. Sometimes you can scrape the adhesive off with a putty knife, but you’ll probably decide it isn’t worth the work.
Skills
Prying, pulling nails, removing screws, cutting with a reciprocating saw
Prep
Isolate the work site to contain the mess; determine what utilities may be contained within the wall
- Almost every wall in a house is likely to have electrical wires in it, so even if you don’t find evidence of wiring, turn off the circuit at the service panel. When you are sure all switches and receptacles in the wall are dead, remove their cover plates.
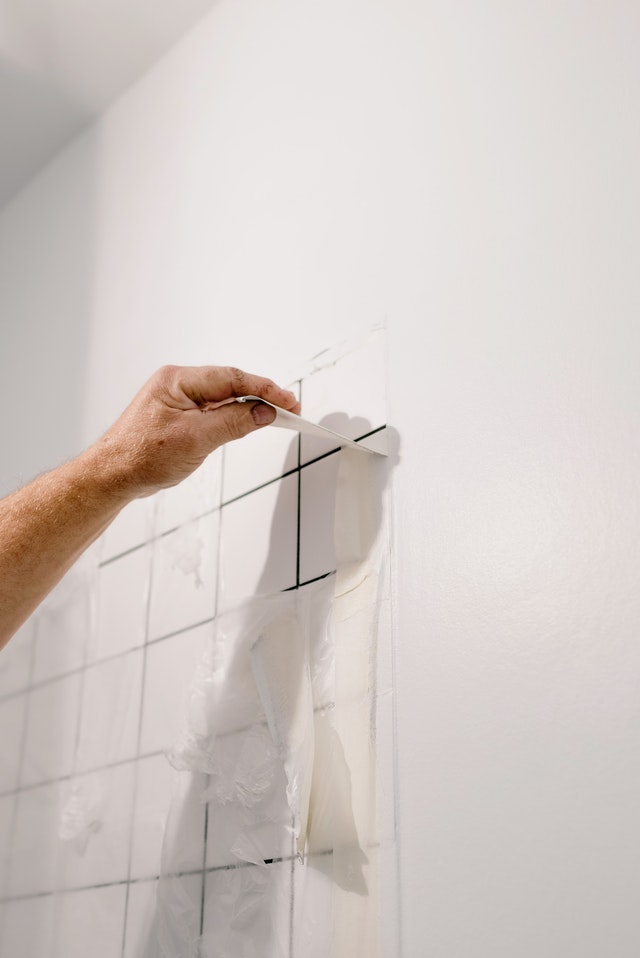
- To make finishing easier, make a clean break between the wall you are removing and other walls. Run a utility knife firmly down both corners of the wall. It may take two or three passes to cut completely through the joint compound and tape. Do this on both sides of the wall to be removed.
Safety First
Turn Off The Circuit At The Service Panel
Before doing any electrical work, you must turn off the electrical circuit at the main service panel. Inside the panel, the circuits should be labeled. If they are, flip the appropriate circuit breaker to the off position or remove the fuse. To make sure the power is off, plug a table lamp into both outlets in every receptacle in the wall you will work on. If there is a switch or switches in the room, flip them for every outlet-sometimes one outlet in a receptacle is controlled by a switch and the other isn’t.
If the panel has no labels, plug a radio into an outlet in the wall to be removed. Turn it up loud. Flip circuit breakers or remove fuses until the radio goes off. Then test each outlet.
What If…
There Is Insulation In The Wall?
Even if the wall you are removing is not an, outside wall, you may find insulation inside. This is because insulation is used to block sound as well as air. Sometimes you will find insulation around plumbing drain pipes to block the sound of rushing water. To remove insulation, wear a long-sleeved shirt, long pants, and a dust mask. Roll it up and seal it in large plastic garbage bags for disposal.
- Use a hammed to punch a series of holes in the wall near the ceiling. The holes should be a couple of inches high and stretch across the stud bays.
- Grasp the drywall and pull free from the studs. If necessary, slip a flat bar inside the wall and pry the drywall away from the studs. Break the sheet into as large places as possible. Pick up and haul off scraps of drywall as you work, to keep the site clear.
- Once the drywall is down. Clean up the debris still attached to the studs. Then pull drywall nails or unscrew drywall screws. Even if you plan to dispose of the framing, pulling the fasteners makes the studs safer to handle.
What If…..
You Are Removing Only Part Of Wall?
Some projects call for removing only part of a wall instead of the entire wall from corner to corner. For example, if you’re creating a passageway, you’ll leave some wall on each side of the opening.
Sometimes you can plan the project so there is a stud at the point where you want the wall to end you might even want to adjust your wall length an inch of two to accommodate the nearest stud. Then you can simply cut away the drywall as shown (near right).
If your wall won’t end at a stud, cut back the drywall farther to the next stud. Later, while framing the new corner, you will nail a new stud against the old to provide a place to nail or screw the new drywall as shown at far right.
Check for wires and pipes inside the wall before sawing.
- If you have to remove only a portion of the drywall, establish a break line by scribing the drywall along a stud with a utility knife, then cut flush along the stud with a handsaw or reciprocating saw.
- To provide a place to attach new drywall, screw a new stud alongside the stud you used as a guide for cutting in the previous step. This is much easier than trying to cut back the old drywall halfway onto the existing stud.
Removing Plaster
The walls of many older houses are covered with plaster rather than drywall. Plaster is applied as a wet paste over a series of thin wood strips called lath, which are attached to the wall studs. The plaster is squeezed between these thin pieces, oozing into the wall cavities. When the plaster dries, the ooze, called keys, holds the plaster to the wall.
More recently installed plaster uses an expanded metal mesh rather than wood lath. If you need to cut through the metal lath, tin snips do the job easily. The most difficult part of removing plaster is to do it without damaging adjacent areas.
Before you begin removing plaster, turn off any nearby circuits at the electrical service panel. Remove all receptacles and switch cover plates.
Prestart Checklist
Time
About 1 to 2 hours per 8-foot section of wall
Tools
Hammer, pry bar, screw drill/driver (for attaching reinforcing 1x2s), handsaw, reciprocating saw (for removing parts of walls)
Skills
Prying, pulling nails, cutting with a reciprocating saw and handsaw
Prep
Isolate the work site to contain the mess; determine what utilities may be contained within the wall
Materials
1 x 2s to reinforce surrounding plaster, if necessary
- Plaster is a tough wall surface, but too much pounding and vibration jar it loose. To avoid problems, attach 1x2s at the points that intersect the wall you are removing and at the adjacent ceiling and other walls.
- If you remove only part of a wall, end at a stud. You can’t cut through lath in the middle of a bay without destroying the plaster. To find the end stud, drill ⅛-inch-diameter holes every inch through the waste section of plaster until the drill hits a stud. Attach a reinforcing 1×2 along the stud.
- Knock the plaster off the wall with a hammer. It is easier to shovel up the loose debris before the lath is mixed in. If some of the lath strips continue past the end stud, use a handsaw or reciprocating saw. Cut them flush to the side of the end stud.
- As you remove the lath with a flat pry bar, some of the lath nails will stay in the studs; some will come away with the lath. Either way, it’s best to remove the nails as you go and pile the lath neatly for disposal.
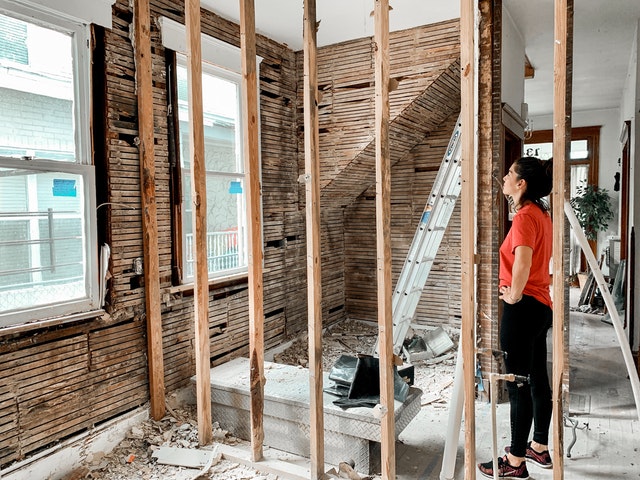
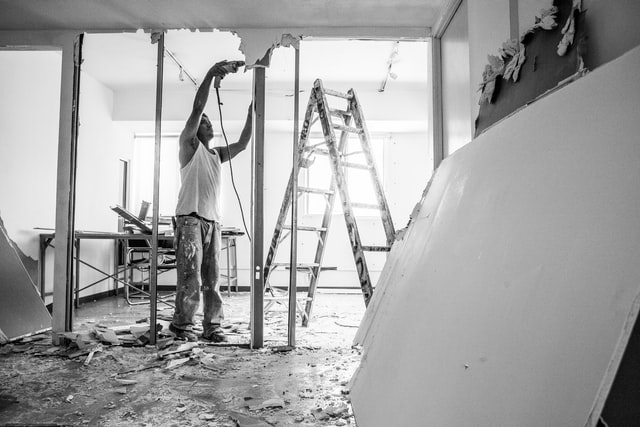
Removing Framing Members
With the drywall or plaster and lath removed, the framing is the last thing to go. It’s not difficult to beat the studs from their positions with a sledgehammer, but a neater and safer method is to cut the nails at the bottom, then pry and twist the pieces free. This way, you’ll be able to reuse the pieces if you need them; just remember they still have nails in one end. After removing the studs, you can remove the top and bottom plates.
Keep in mind the directions here apply to nonbearing walls only. Removing load-bearing walls requires the skills of a master carpenter and sometimes a structural engineer.
Prestart Checklist
Time
About 5 to 15 minutes per framing member
Tools
Reciprocating saw with metal cutting blade, hammer, pry bar
Skills
Sawing with a reciprocating saw, pulling nails
Prep
Remove trim and drywall or plaster and lath
If you don’t own a reciprocating saw, consider renting one the day you remove framing.
- Cut through the nails between the bottom of the stud and the plate with a reciprocating saw. Be sure to use a metal cutting blade.
- Knock the bottom of the stud sideways with a hammer to free the bottom. With the bottom loose, twist and lever the stud free of the nails that hold it to the top plate.
- If the bottom and top plates are part of a longer wall, use a handsaw to cut them free from the part of the wall you want to keep. Be careful to avoid marring the ceiling and finished floor if one is in place as you finish the cuts.
- The top plate consists of two layers of 2x4s. Drive a flat bar between the two layers and pry off the bottom layer. If you are removing a partition wall, the upper top plate overlaps the lower top plate of the main wall. Use a handsaw to cut off the top plate at the main wall.
- If joists run across the wall you are removing, they probably were nailed down into the top plate. Drive a flat bar between each joist and the top plate and pry the top plate free.
What If…
You Have To Remove A Doorway?
Use a reciprocating saw to cut the nails at the bottom of one of the two sets of doubled studs the same way you did for single studs. Then lever that leg of the doorway free of the bottom plate. Knock the doubled studs sideways with your hammer to free them from the header and the top plate. Pry the header free of the cripple studs above and the doubled studs on the other side. Then cut the nails holding these doubled studs to the bottom plate and twist this leg free as well.
What If…
You Find Utilities In The Wall?
Once you open a wall you’ll see exactly what utilities, you have to deal with. Then you you’ll need to decide what to reroute and what to remove in most cases there will be some electrical wiring present in a wall less frequently, there will be plumbing or possibly, some ductwork for your neating and cooling system, if you plan to do your own electrical or plugging work, see Stanley Advanced Wiring and Stanley Advanced plumbing for more information.
If you rather not tackle these jobs yourself, hire a professional to remove of reroute the utilities. You may have to wait until the pro can fit you into his schedule. There is, now ever an easyway to get wiring out of the way so you can continue working until the electrician arrives. The following approach requires little wiring knowledge.
Start by turning off the electricity by removing the fuse or throwing the circuit breaker that protects them. Check to make sure the power is off by plugging a light into both outlets in all of the receptacles, and operating all of the switches. Nothing should happen if the power is off.
Next unscrew the receptacles and switches and pull them out of their boxes. Make a sketch of how the wires are connected, especially nothing which color wire attaches to which terminal on the device.
Detach the receptacles and switches from the wires. Pull the wires out of the boxes and pull them through any holes in the framing. Remove the boxes from the studs. Run the wires back into the now-loose boxes and reattach them as they were to the various switches and receptacles. Screw the devices back into their boxes and replace the cover plates. If possible, leave the power off to the circuit until the electrician arrives and checks everything out. With the wiring out of the way, you can proceed with demolition.
Waste disposal and cleanup
In every remodeling job, several times occur when a major cleanup helps keep a worksite safer and more efficient. One of them is at the end of demolition. When you are finished tearing the place apart, thoroughly clean the site—sweep and vacuum the dust, carry away all the debris, put away tools, and reorganize the site.
This is also the time to make sure the dust barriers are still in place and that you have protected every part of the site that won’t be demolished. Cleaning up is a good activity for the end of the day, when you are too tired for any meticulous work but still feel like getting something accomplished.
Double Bagging: For small jobs, you can bag the mess and put it out with the trash. But be warned: Construction debris is heavy. Don’t overfill containers. Use heavyweight bags; you may even want to double bag to reduce the risk of a spill.
Rent A Waste Container: For larger jobs, rent a waste container. Check with local authorities to see if you need a permit. If necessary, build or rent a chute to direct debris from a window into the container. Be sure to protect the window through which the debris passes.
Safety First
Pulling nails as you go
As you remove each piece of wood from a structure, take the time to remove protruding nails. Boards and moldings with nails sticking out are extremely hazardous. Stepping on one can cause a serious injury, and they can snag and rip clothing too.
If you intend to reuse the lumber, mark the location of any nails you have left imbedded in the wood so you won’t later cut through them with a saw.
Keep a cat’s paw handy for pulling nails as you remove studs and other pieces of wood. A cat’s paw is especially handy if the nail heads are deeply imbedded because you can use your hammer to drive the short claw into the wood to get under the head. A pair of end nips also does a good job removing nails.
Use The Right Filter For The Job
A shop vacuum makes quick work of construction dust, but make sure the vacuum filter is up to the job, or you’ll simply redistribute the dust. Most stock filters cannot deal with the extremely fine dust generated by remodeling projects. Some vacuum makers sell bags that fit over the regular filters for dealing with fine dust, such as that from joint compound. Or you can retrofit your vacuum with an aftermarket filter.