
This is an excerpt from the Book called “Creative Homeowner Ultimate Guide Drywall“. Continue reading to learn more about Hanging Drywall In Tricky Locations, thanks to the author.
Stairways present a challenge because they often have angled surfaces, with the added challenge of installing drywall panels over stairs. (If you need to work from a scaffold, clamp one end of wide planks to a stepladder, resting the other end on the stairs.) You can simplify the job by installing as many full panels as possible and then measuring as many full panels as possible and then measuring and installing the odd-shaped panels last. The existing full panels will give you two of the three dimensions for each triangular panel, which makes it easy to find the length of the third.
Difficulty level:
1. Cover The Larger Areas With Drywall First.
Install as many full panels as will fit on the stairway wall, using the same arrangement (horizontal or vertical) that you’ve used elsewhere.
2. Measure Smaller, Irregular Shapes.
With the full panels in place, measure for two f the three sides of each triangular piece that must be cut to fit. Transfer those dimensions onto a full panel using a 4-foot T-square.
3. Cut The Triangular Piece To Fit.
Once you’ve transferred the two known dimensions, snap a chalk line (or use a straightedge) to connect the end points and mark the unknown length with a cut line. Cut and install this partial panel as you would any other piece of drywall.
Install a cathedral ceiling as you would any other ceiling panel. Use adhesive for a better bond between the panels and rafters, and use the ceiling fastener schedule for nails or screws. Install each panel using a drywall jack, or have two workers stand on stepladders. You’ll find that scaffolding is difficult to move around during cathedral-ceiling installation because the drywall jack tends to get in the way. However, scaffolding makes it much easier to finish these panels once you’ve installed them.
Difficulty level:
1. Apply Adhesive.
If necessary, apply adhesive to the rafter edges or furring. Be careful not to work too far ahead of yourself with the adhesive, as it can set up before you get to that section of ceiling.
2. Raise The Panel Using A Drywall Jack.
Place a panel onto a drywall jack. As always, use the largest panel you can handle to minimize finishing work. Raise the jack until the panel makes snug contact with the rafters or furring.
3. Fasten The Panel To The Ceiling.
Move a stepladder into place on one side of the drywall jack, being careful not to disturb its base. Working safely from a lower rung, adjust the angle of the jack as needed, making sure that the panel is tight against the framing members. Then fasten the panel to the ceiling using the screw or nail schedule recommended earlier. Work your way across the panel, getting as close to the jack as possible with your ladder. Then move the ladder to the opposite side of the jack and continue fastening. Move the jack away from the wall only when the drywall is entirely fastened. Removing the jack prematurely can lead to sagging in the panel, a problem that is difficult to fix with just screws or nails.
To prevent cracking at drywall joints where a cathedral ceiling and wall meet, get a strip of metal flashing the length of the joint and 16-20 inches wide. Bend the flashing lengthways to match the wall-to-ceiling angle, and then install it. Fasten only one side. Install the panels on top of the side with the fasteners in the normal way. Then, when you install the other side, screw the drywall through the flashing between studs with Type S screws. Don’t screw through the framing members of the roof. This way, any movement in the framing is restricted to one plane instead of to two planes in the drywall joint.
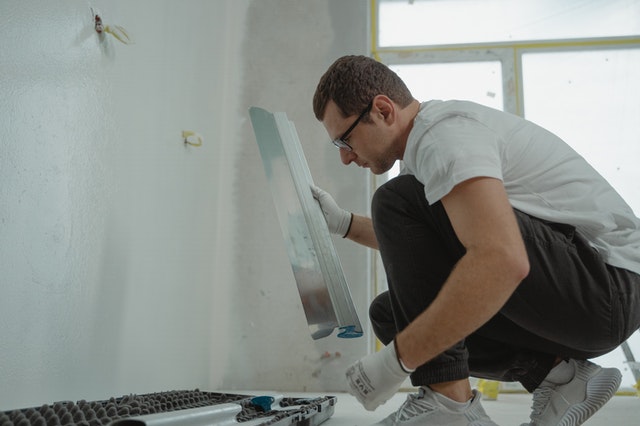
Every house seems to have an odd-shaped corner that can’t be drywalled with squares, rectangles, or easy-to-figure triangles. The trick is to break down an odd shape into its component lengths or sides, then use a framing square or T-square to transfer the dimensions onto the wallboard. If possible, use a fresh corner or factory edge of the panel for reference in laying out such a piece.
Difficulty level:
1. Measure The Area.
Determine the dimensions and angles of the odd-shaped area.
2. Mark The Cuts On The Panel.
Using a T-square, ruler, or framing square, transfer the dimensions onto a drywall panel. Try to use a factory edge for at least one side of the cutout piece.
3. Make Your Cuts.
Cut out the piece using a utility knife. If you can’t snap this piece cleanly from the panel, score the cut lines repeatedly with your utility knife to make a clean cut, or use a drywall saw.
4. Install The Piece.
Test-fit the piece in the odd-shaped hole. Trim its edges where necessary, and fasten it.
In some areas of the house (especially basements), you’ll want to cover exposed pipes, utilities, or duct-work with drywall. However, drywall can’t be attached directly to such fixtures, so you’ll have to build a frame box to provide a nailing base for the panels.
Difficulty level:
Building A Drywall Box Around Utilities Or Pipes. Hiding ducts has a practical side, but the boxes can also be decorative.
1. Measure For Your Framing.
Decide on the size of the box needed to cover the pipes or ductwork. Remember that the frame itself will make the drywall stand off the pipe or duct by at least 1½ inches. You may want to make a larger box for design purposes-one that would hold recessed lighting, say. Leave sufficient room for sound-attenuating, fireproof blanket insulation, which is required by many local building codes.
2. Build The Framing.
Frame around the duct or pipe, making sure that you provide a nailing base for all drywall edges. Use the same on-center spacing recommended earlier for walls. (This will vary according to the panel thickness you intend to use.) Install the insulation when the frame is completed.
3. Drywall The Box.
Cut and install drywall on the box framing. Use a ceiling screw or nail schedule for all horizontal sections and a wall schedule for the vertical panels. Complete the corners using corner bead.