Drywall cracks – Easy steps to fix big drywall cracks!
How to fix drywall cracks? - Are drywall cracks being severe?
Trust me! No one wants to take a risk when it comes to drywall cracks! Drywall cracks can seem to have less risk potential, but if handled carelessly, it was the primary reason for your home’s structural damages. But, if you see a crack in the wall, it doesn’t necessarily mean there’s an issue with the home’s foundation. It can likely be patched and repaired. But drywall cracks are the first sign that your home is not maintained well because other than damage, it also affects your home’s interior look and makes it less attractive, and no one wants that too!
"I'm noticing a lot of tiny cracks in my drywalls; do I have a structural problem?"
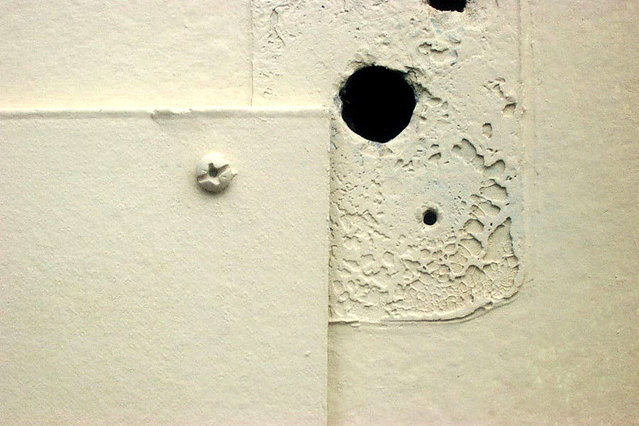
It’s improbable that those small hairline cracks that you see on the drywall in your home, over the doors and windows are actual structural problems. It’s usually just a slight thermal expansion that can be repaired very easily by just using a little lightweight spackling.
But the type of crack you need to be concerned with is 3/16 of an inch or more. If one side of the crack is not equalized with the other side of the damage, that can indicate some active structural movement.
Another telltale sign is if the doors in your home don’t fit the fixes quite as well as they used to. Again, you need to call an expert to examine the severity and fix them for you in this situation.
How do you find the severity of your drywall cracks?
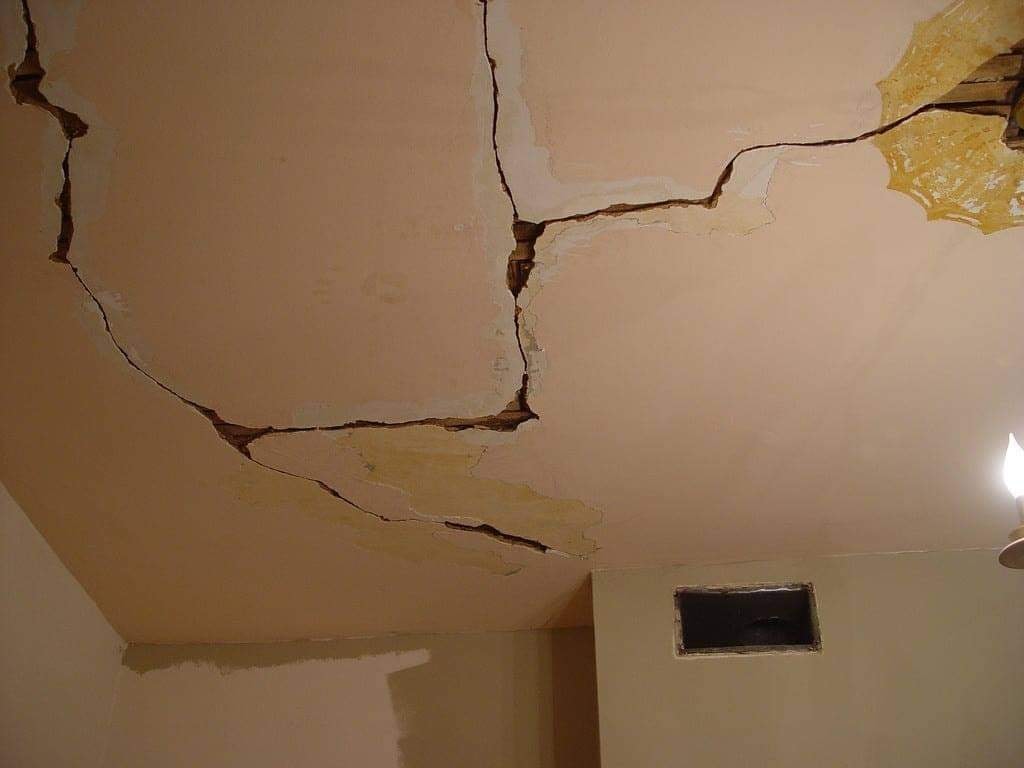
Critical – cracks up to 25mm wide could be a symptom of structural damage and should be examined and fixed by a professional.
Hypercritical – any crack above 25mm in width indicates severe structural damage and will need significant repair work, which could include foundation and rebuilding.
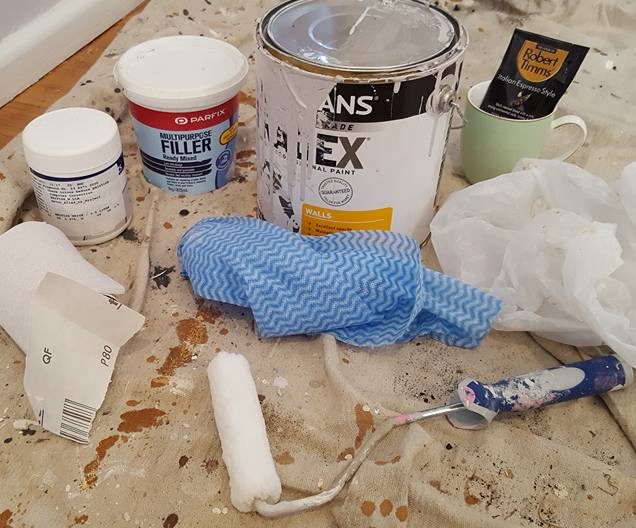
Fix cracks in drywall begins with choosing all the right tools and equipment needed for the project.
When repairing cracks in drywall, you’ll need:
- Shrink-free spackling,
- One-and-a-half inch to the three-inch spackling knife (depending on the size of the crack),
- Fine-grit sanding sponge and tack cloth.
- If the crack you’re repairing is more extensive such as a stress crack, you’ll need fiber tape.
- Putty knife
- Joint compound
- Primer & paint
- Joint tape
- Carpenters square
- Tape measure
Fix cracks in drywall
It’s going to happen! Then, of course, you’re going to get hole scratches or dents in your walls, but if they’re made of drywall, the good news is they’re usually easy to repair and can finish the work pretty quickly.
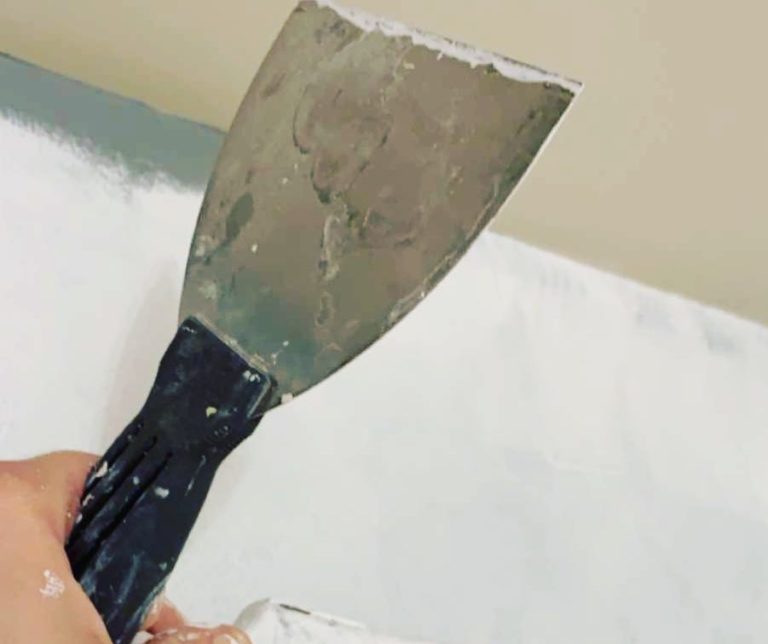
Taper any excess spackling around the crack to get a smooth surface. It’s essential to let the spackling dry before further working on repairing cracks in drywall.
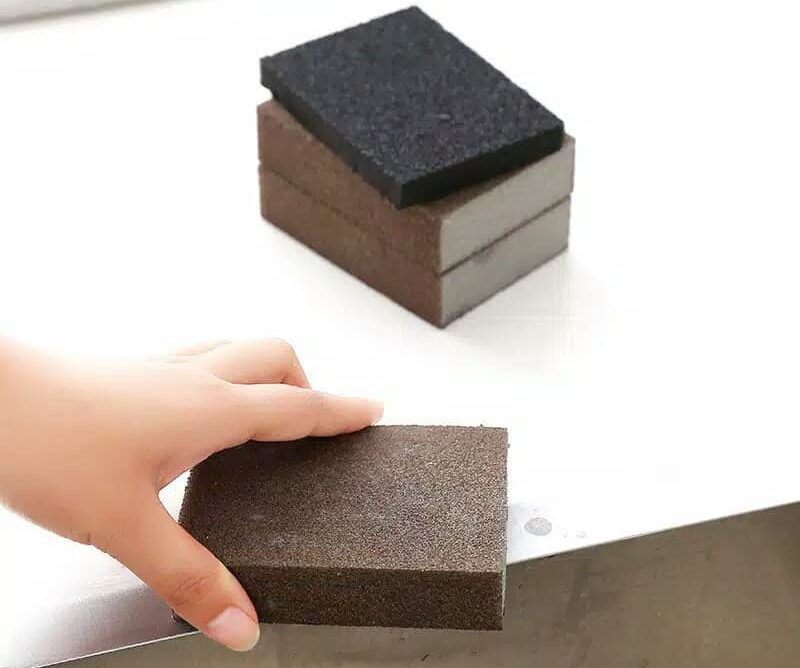
Smooth the surface with a fine-grit sponge and wipe away the dust with a tack cloth once dry. With the repairs done, you can prime and repaint over the crack.
Use a putty knife or your finger to fill the hole with lightweight spackling. Let it dry for fifteen to thirty minutes, then sand with fine-grit paper until smooth and paint.
Widen the cracks lightly and then brush off any loose pieces. Next, fill the widened gap with lightweight spackling using your finger or a putty knife.
Then smooth the area by applying more thin coats of spackling. Sand once the patch is dry and it’s ready to be primed and repainted.
When you paint, know that you might need to paint the entire wall and not just the repaired area because, if it’s been a while since the wall was originally painted, the colors might not match.
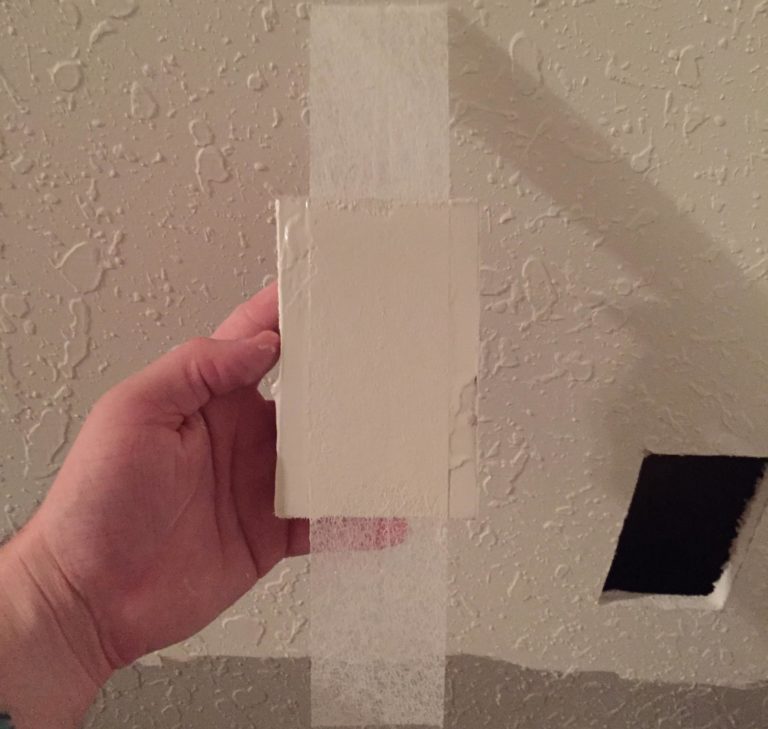
Reinforce the repair by using joint tape. Cut a strip of self-adhesive fiberglass drywall tape and place it over the crack.
Spread a coat of the joint compound over the mesh, which acts as a backing. Let it dry thoroughly, then sand. If necessary, apply another coat and sand until smooth.
More extensive repairs are a bit more involved.
- Outline the damaged area with a carpenter’s square.
- The top and bottom should be at least one inch outside of the damaged area, and try to center the sides over the wall studs on both sides of the hole. Also, don’t assume that all the damage is visible.
- The exterior drywall paper is often intact, but the cracked drywall material on the backside of the wall extends beyond the edges of the hole.
- When you measure your cut, make sure you’re an inch beyond all of the damage. Cut along the horizontal lines using a drywall saw until you reach the studs.
- Measure three-quarters of an inch to the center of the stud, mark the spot, and then cut the sides with the utility knife.
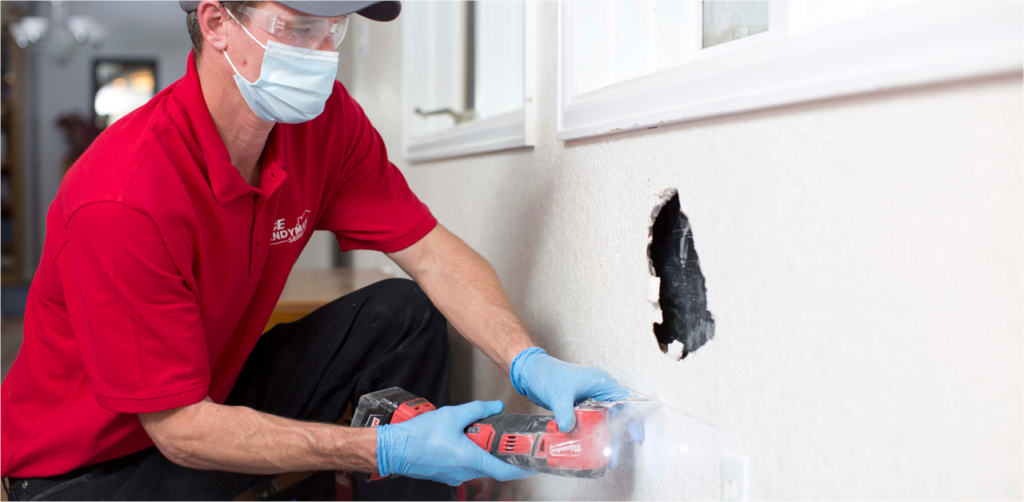
- Cut a piece of scrap like a 2 to 4 inches bigger than the hole to serve dispatch support and carefully secure to the wall with drywall screws.
- From a scrap piece of drywall, make a patch the size of the opening using a utility knife. You can trace the fee see remove to ensure the replacement section is the same size.
- Place the patch in the opening and attach with drywall speed away from the edges to prevent crumbling.
- Play strips of self-adhesive drywall tape over the seams of the patch, and using a nine-inch putty knife, spread joint compound across the measure tape and patch to create a smooth flat surface and let it dry overnight.
- To finish the job the next day, the patch and apply a second coat, let it dry, and then sand again.
- At this point, if you’re happy with how the patch blends in, then you can go ahead and paint. If not, spread a third coat, this time using a 12-inch putty knife.
- When dry sand until smooth and paint.
How to keep your furniture safe when repairing drywall damages?
Moving items in and out of homes without any damage requires a lot of training and care. Drywall damages can be expensive to repair, ranging anywhere from a hundred to a thousand dollars. First, prepare the house by using banister pads, door jams, and moving pads. Then begin thoroughly pad wrapping the furniture/ prepping the home and dwelling covering the furniture are necessary steps to prevent damages, especially drywall damages.
Begin by bringing in moving pads, rubber bands, and stretch wrap to prepare you. Then, when wrapping an item, make sure that you utilize the rubber bands to hold the pads on.
Make sure the furniture is completely covered, and nothing is exposed. Once this is complete, you can begin stretch wrapping the item. While doing this, start at the top and work your way down to the bottom. It is necessary to pad wrap tight and put a thick layer on the item for protection rip and perception. Depending on the object, you may need to pad wrap the bottom during the move techniques to protect the walls, including putting your hand over two corners communication and using a pad on a landing when trying to make a turn. Moving up and down flights of stairs typically creates the most damages.
Once you’ve covered all your furniture and other essential accessories in your interior, start working on your drywall cracks, and make sure to wear a safety mask as it can cause you breathing issues.
Professional drywall repair – San Mateo CA
Whether you have a minor drywall crack repair or multiple areas throughout your home needed drywall repair, approach JM drywall experts who are very excited to help you out. With licensed & insured, family-owned drywall experts, your drywall cracks can disappear in no time! Call at (650)249-9744 and get a free job estimate. Then, get your drywall repair done by JM drywall repair! Professional, affordable quality drywall repair service at, san mateo, CA– guaranteed!